
KIT GUIDE · 6 STEPS
Climb only as far as the sky you want.
Astronomy kit comes in steps, and each one lets you see or record something the step below cannot. You do not have to climb them all. Below, each step says what it opens up, what to look for when you choose, and which of our 12 courses need it.
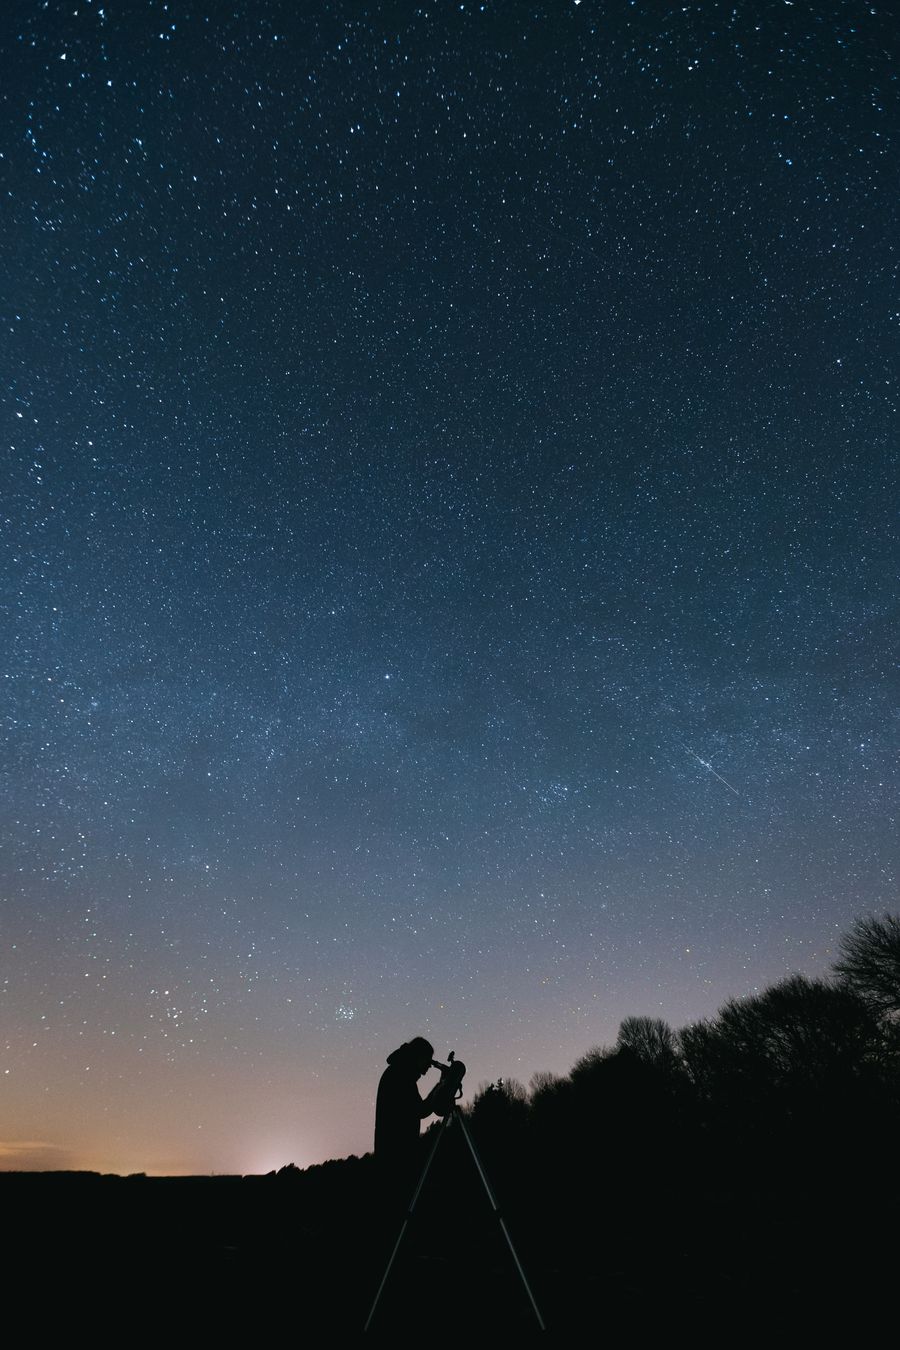
STEP 01 OF 06
Your eyes
Everything starts here, and plenty of people never need more. A dark corner of the garden and twenty patient minutes show you far more than a first glance does.
What it opens up
- The constellations of each season and the bright stars that lead to them
- The planets, told apart from stars by their steady light and their slow drift
- The Moon, its phases and earthshine
- Meteor showers, and the Milky Way from a properly dark site
What to look for
- A spot shielded from street and house lights, even if it is only a corner of the garden
- A red torch, so you can read a chart without losing your dark adaptation
- Warm layers and a reclining chair: comfort decides how long you stay out
- A planisphere or a free sky app, used sparingly so your eyes stay adapted
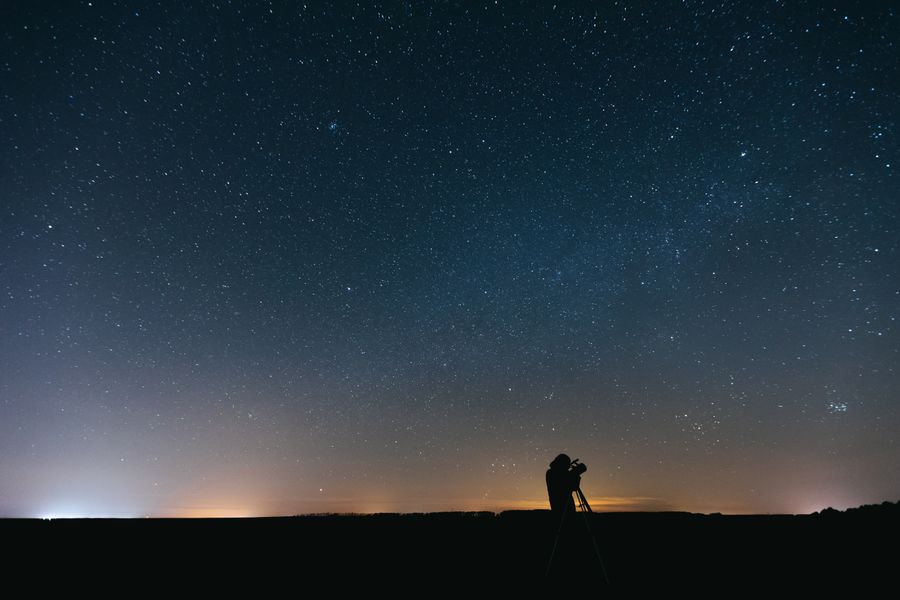
STEP 02 OF 06
Binoculars
Binoculars gather far more light than your eye, show a wide piece of sky the right way up, and fit in a coat pocket. They are the gentlest step from naked eye to telescope.
What it opens up
- Star clusters that look like a smudge by eye resolved into dozens of stars
- Coloured double stars and the brighter variable stars
- Craters and seas along the Moon's shadow line
- The Andromeda Galaxy on autumn evenings, as a soft oval glow
What to look for
- The two numbers: magnification first, then the width of the front lenses in millimetres
- Moderate magnification: above about ten times, every shake of your hands shows
- Weight you can hold up for a minute at a time, or a way to mount them
- Comfortable eyecups, especially if you wear glasses
4 courses and routes need this
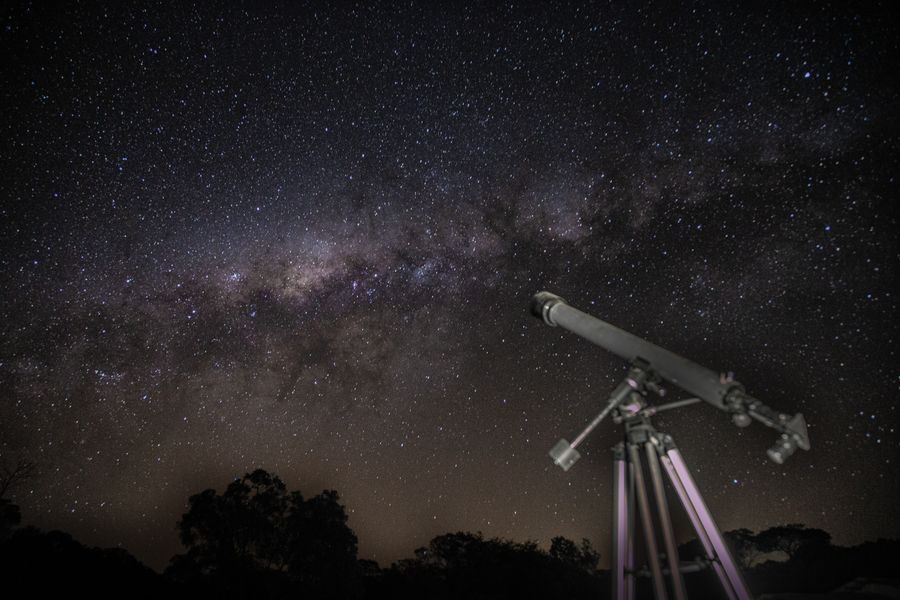
STEP 03 OF 06
A telescope
A telescope shows the planets' detail, the Moon close up and faint clusters, galaxies and nebulae. It also asks the most of you: setting up, aligning, cooling and finding your way.
What it opens up
- Jupiter's cloud belts and moons, Saturn's rings, the phases of Venus
- Lunar craters, mountains and valleys in sharp relief
- Galaxies, nebulae and globular clusters, found by star-hopping
- Double stars too close for binoculars to split
What to look for
- Aperture, the width of the main lens or mirror, matters more than any magnification figure on the box
- A mount that stays still when you touch the focuser: a wobbly mount wastes a good tube
- A size you will actually carry outside on a weeknight, and somewhere to store it
- Refractor, reflector or catadioptric: each has trade-offs, covered without a sales pitch in the course
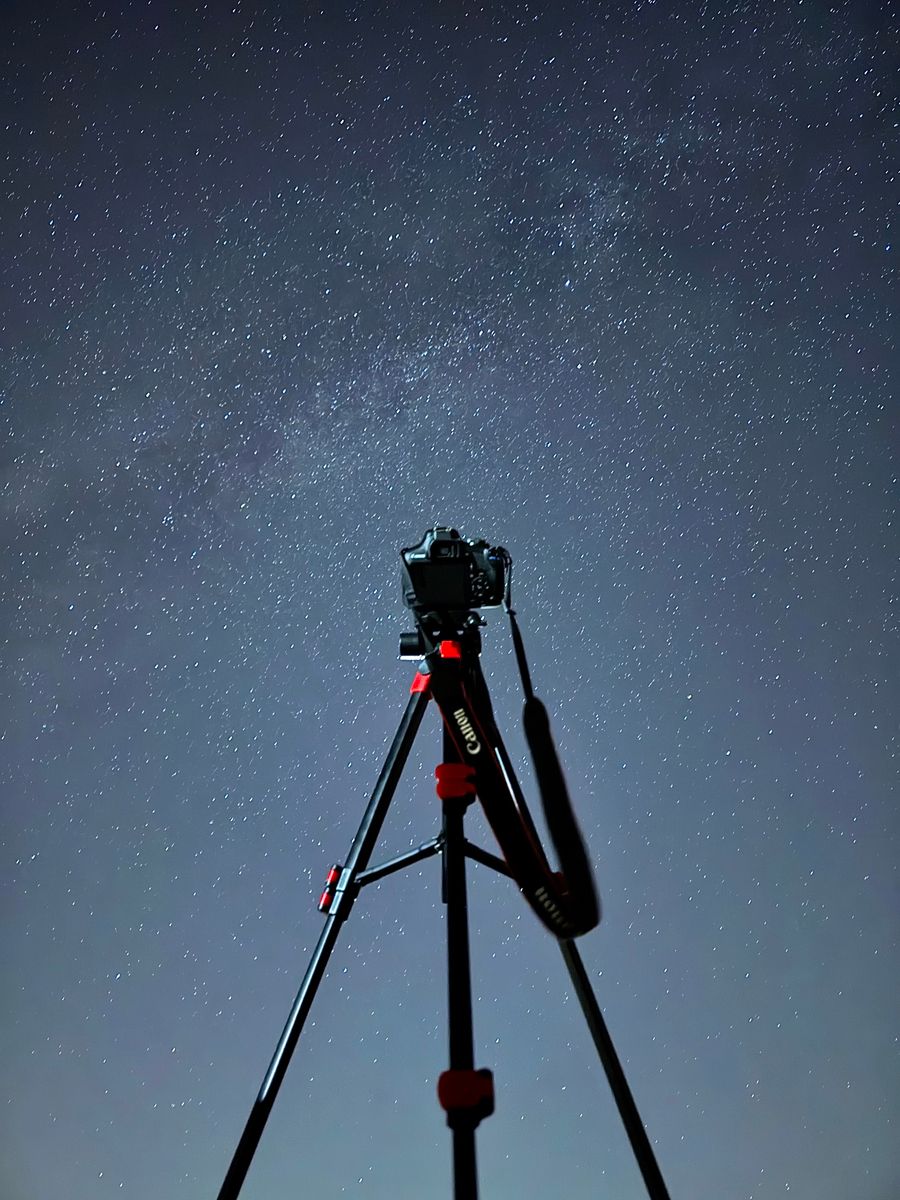
STEP 04 OF 06
Phone or camera + tripod
A camera can collect light for seconds at a time, which your eye cannot. On a fixed tripod that is enough for star fields, the Milky Way over a landscape and star trails.
What it opens up
- Star fields with more stars than you saw by eye
- The Milky Way above a foreground you chose in daylight
- Star trails turning around the Pole Star
- The Moon and twilight scenes with the planets
What to look for
- Manual control of focus, exposure time and ISO; many phones offer this in a night or pro mode
- A tripod that does not shiver in a breeze, with a head that locks firmly
- A self-timer or remote release, so pressing the button does not shake the picture
- A wide lens that lets in plenty of light, if your camera takes interchangeable lenses
STEP 05 OF 06
Tracking mount
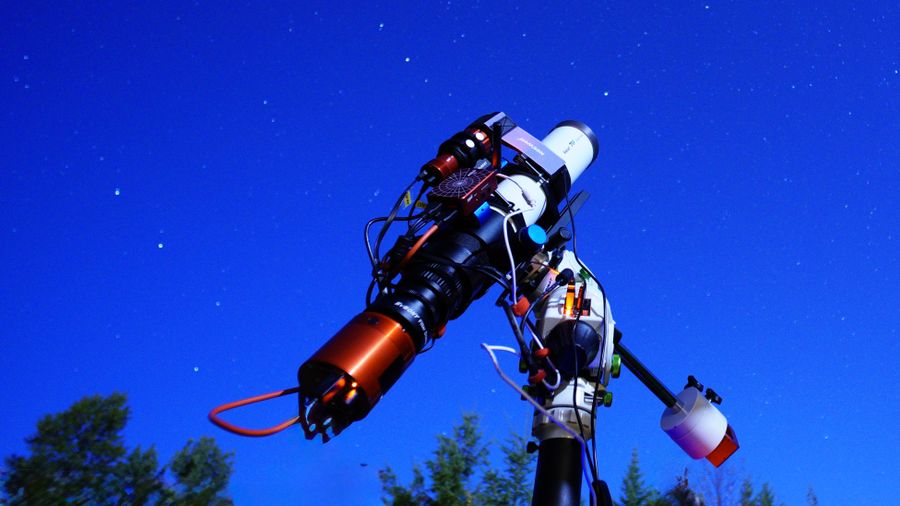
The sky turns, so on a fixed tripod stars stretch into dashes after a few seconds. A tracking mount turns with it, and exposures of minutes become possible.
What it opens up
- Round stars in exposures of several minutes
- Nebulae and galaxies with a long lens or a small telescope
- Cleaner, less noisy images of the Milky Way
- Long sequences of frames ready for stacking
What to look for
- A payload rating comfortably above the weight of everything you will put on it
- A portable star tracker for a camera and lens, or a full equatorial mount for a telescope
- A polar alignment method you can manage in the dark, by scope or by software
- Power for a whole night out, and a case you can carry to a darker site
3 courses and routes need this
STEP 06 OF 06
A computer
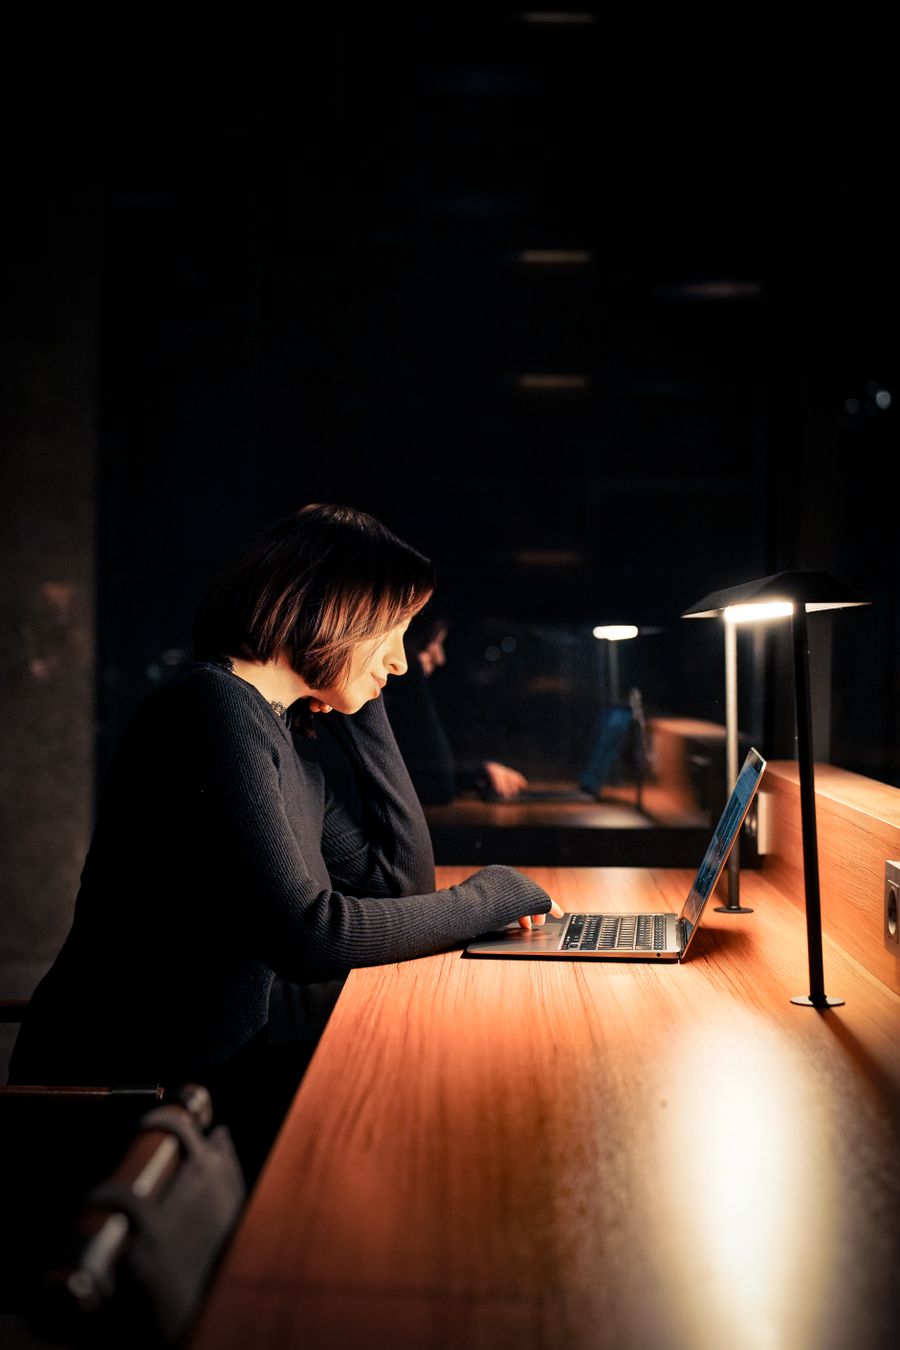
Deep-sky pictures are made twice: once outside, and again at a desk, where hours of grey raw frames are calibrated, stacked and stretched into one image.
What it opens up
- A night of raw frames combined into one clean master image
- Light-pollution gradients removed from a suburban sky
- Colour and faint detail brought out without inventing any
- A finished image that holds up when you look closely
What to look for
- Free processing software runs on most ordinary desktop and laptop computers
- Plenty of storage: one clear night can fill many gigabytes of raw frames
- Enough memory for stacking, which is the heaviest job you will ask of it
- A screen you can work on in a dim room, with the brightness turned down
2 courses and routes need this
Not sure which step you are on?
Tick the courses that fit the kit you already own and the planner adds up the price, the hours and the weeks at your own pace. Or ask us in the chat: a person answers.